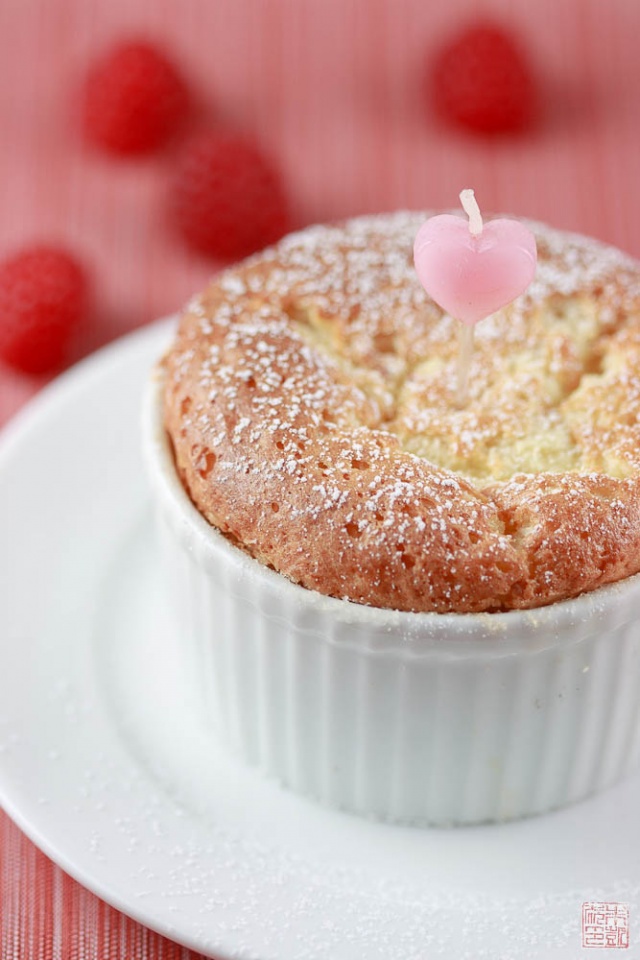
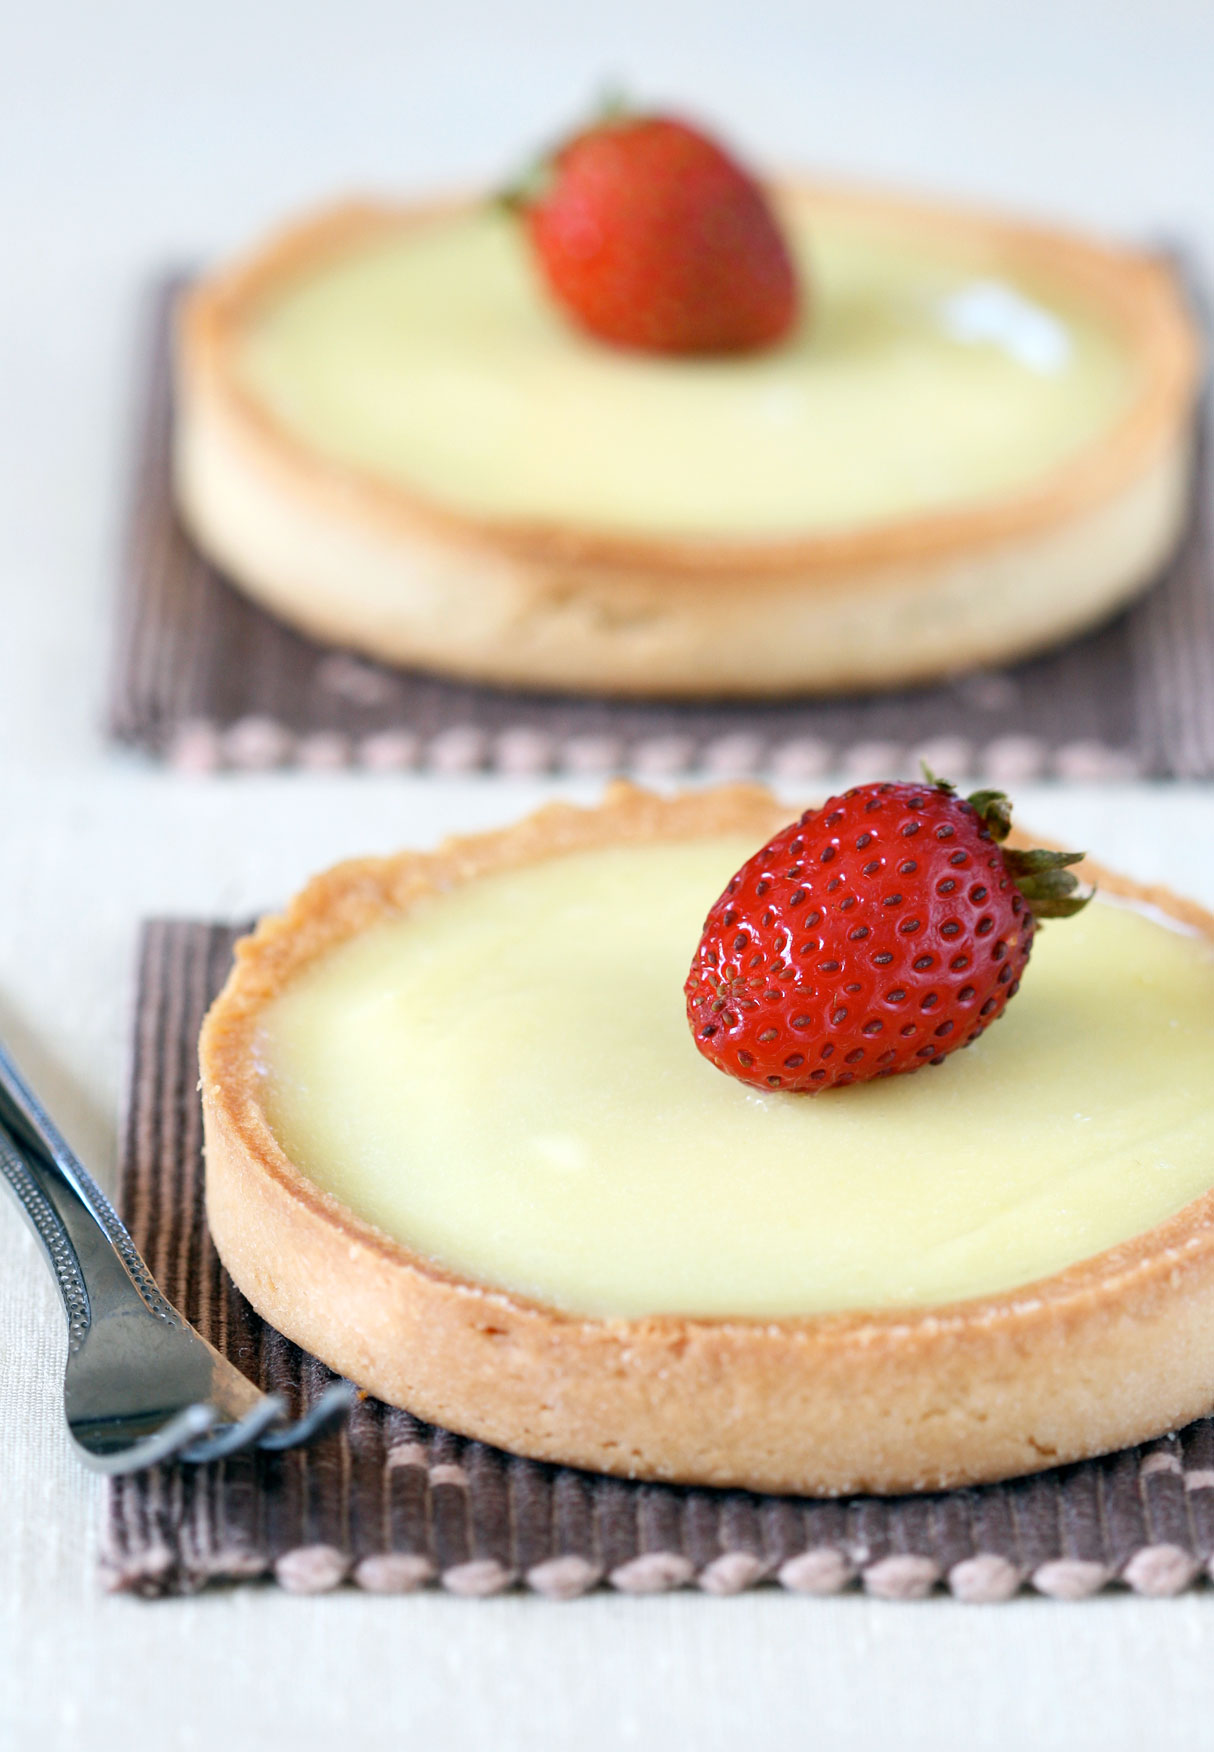
Meyer Lemon and Chocolate Tart
Whenever Meyer lemons come into season, I always get an irrepressible desire to make lemon tarts. They've always been one of my favorite things to make, and their sunny yellow hue is perfect reflection of the increasingly light-filled days. (We even had a mini-heat wave in San Francisco this weekend, with everyone scrambling to pull sundresses and shorts out from the depths of the closet. Seeing as San Francisco has approximately 2 weeks a year where it's actually hot enough to wear shorts, no one wants to waste those precious days!)

My favorite version of lemon tart is based on the first one I ever made out of Pierre Herme's Desserts by Pierre Herme . It's hard to improve on Pierre Herme's genius: a crisp, buttery pâte sucrée tart shell, filled with the most unctuous of lemon curds. Amazing how two such basic pastry fundamentals could combine into something so elementally good; proof that you don't need complicated techniques or multitudes of elements to make something really delicious.
So I felt the same compulsion this year to break out the tart rings when I saw the little nuggets of sunshine popping up at market; this time, though, I also got the urge to change things up a little bit. Gild the lily just a little and dress up the tart for after dinner.
The perfect accoutrement turned out to be a layer of bittersweet chocolate ganache, spread in a thin layer on the bottom of the shell, before the lemon curd is spooned in. At first I tried just a layer of melted chocolate, but when it hardened it was a little difficult to cut through and compromised the wonderful delicate crispness of the tart shell. A velvety, supple ganache provided just the right dark undertones to the cheery bite of the lemon. And since Meyer lemons are a bit sweeter than regular lemons, the chocolate helps ground and highlight the curd – the sunset in wait at the end of every sunny day, perhaps.

If you don't have Meyer lemons, regular ones will work just as well. While the tart should be chilled, I find it tastes best when you take it out about 20-30 minutes before serving – it lets the curd soften up slightly and regain and its wonderful addictive, creamy texture. It may be hard to wait that long, but believe me, it's worth it.
Hope your days are turning sunnier and warmer!

Pâte Sucrée
makes about 8 tartlets
1 1/4 sticks (5 oz) unsalted butter, room temperature
3/4 cup confectioner's sugar, sifted
1/4 cup almond meal or ground almonds
1/4 teaspoon salt
1/4 teaspoon vanilla extract
1 egg, room temperature
1 3/4 cups all purpose flour
Lemon Cream
adapted from Pierre Hermé's Desserts
makes about 1 1/2 to 2 cups
1/2 cup sugar
zest from 2 lemons
2 eggs
1/2 cup freshly squeezed lemon juice
5 ounces unsalted butter, cut into 1 inch pieces, softened but not melting
Chocolate Ganache
4 ounces bittersweet chocolate
1/2 cup heavy cream
For the pâte sucrée tart shells: Place the butter in a food processor and process until soft and creamy.
Add the confectioners' sugar and process until well blended and smooth.
Add in the almond meal, salt, and vanilla extract and process until well blended.
Add in the egg and egg yolk and process until just blended; scrape the bowl down as necessary.
Add the flour and pulse just until the dough starts to come together into a ball; don't overprocess. The dough will be very soft like cookie dough.
Scrape the dough out of the food processor and make into a ball. Flatten out into a disk, wrap in plastic, and chill in refrigerator for at least 4 hours until it is firm enough to handle.
When you are ready to bake off the tart shells, take the dough out of the refrigerator – let it warm up a bit if necessary but not too much because it will start melting fast.
Roll out the dough between two sheets of plastic wrap to 1/8" thickness. If the dough gets too soft, place back in the refrigerator to firm up.
Place the tart rings you will use on a baking sheet lined with a Silpat or parchment paper.
Cut out circles of dough to fit into desired tart rings. Press the dough carefully into the tart rings and up the sides, being careful not to stretch the dough or it will shrink when baked. Place the rings into the refrigerator to chill for at least 30 minutes. Trim off the excess dough from the top of the rings.
Heat the oven to 350 degrees F while chilling the tart shells. When you are ready, line the shells with parchment and fill with beans or rice to keep the shells weighed down.
Bake shells for about 15-18 minutes until they are lightly colored and the shell feels dry to the touch. Remove from the oven and place on a rack. Remove the beans and parchment and brush the bottoms of the shells with a light egg wash (made from an egg white and a bit of water). Let cool before filling.
For the lemon cream: Create a water bath by placing a saucepan of water over heat to simmer and placing a metal bowl unto the pan so its bottom does not touch the water. Combine the sugar and lemon zest together with your fingers and add to the metal bowl. Whisk in the eggs and lemon juice.
Cook the mixture over the simmering water, whisking constantly, until the cream reaches 180 degrees and thickens. Keep whisking while the mixture is heating up to prevent the eggs from cooking.
Once the cream is thickened – you should be able to make tracks in the mixture with your whisk – take the cream off the heat and strain it into the bowl of a food processor or blender. Let the cream rest for a bit until it cools to about 140 degrees.
Add in the butter pieces a few at the time and combine on high speed. Once all of the butter has been added, let the mixture combine for a few minutes longer to ensure the mixture is perfectly smooth. It is the addition of butter that changes this recipe from a simple lemon curd to a rich, satiny-smooth cream.
Once the cream is finished pour it into a container and let it chill in the refrigerator for about half an hour before assembly.
To finish the tarts: Place chocolate in a bowl.
Bring cream to a boil in a saucepan over medium heat.
Pour cream over chocolate let sit for about a minute. Stir with a wooden spoon to melt and combine chocolate with cream into a smooth ganache.
Spoon some ganache into the bottom of the tart shells and spread into a thin layer. Let set for about 10 minutes to firm up.
Spoon some lemon cream into the tart shells, filling all the way to the top. Shake the tarts lightly to smooth out the cream out. Chill tarts in the refrigerator for about an hour before serving.